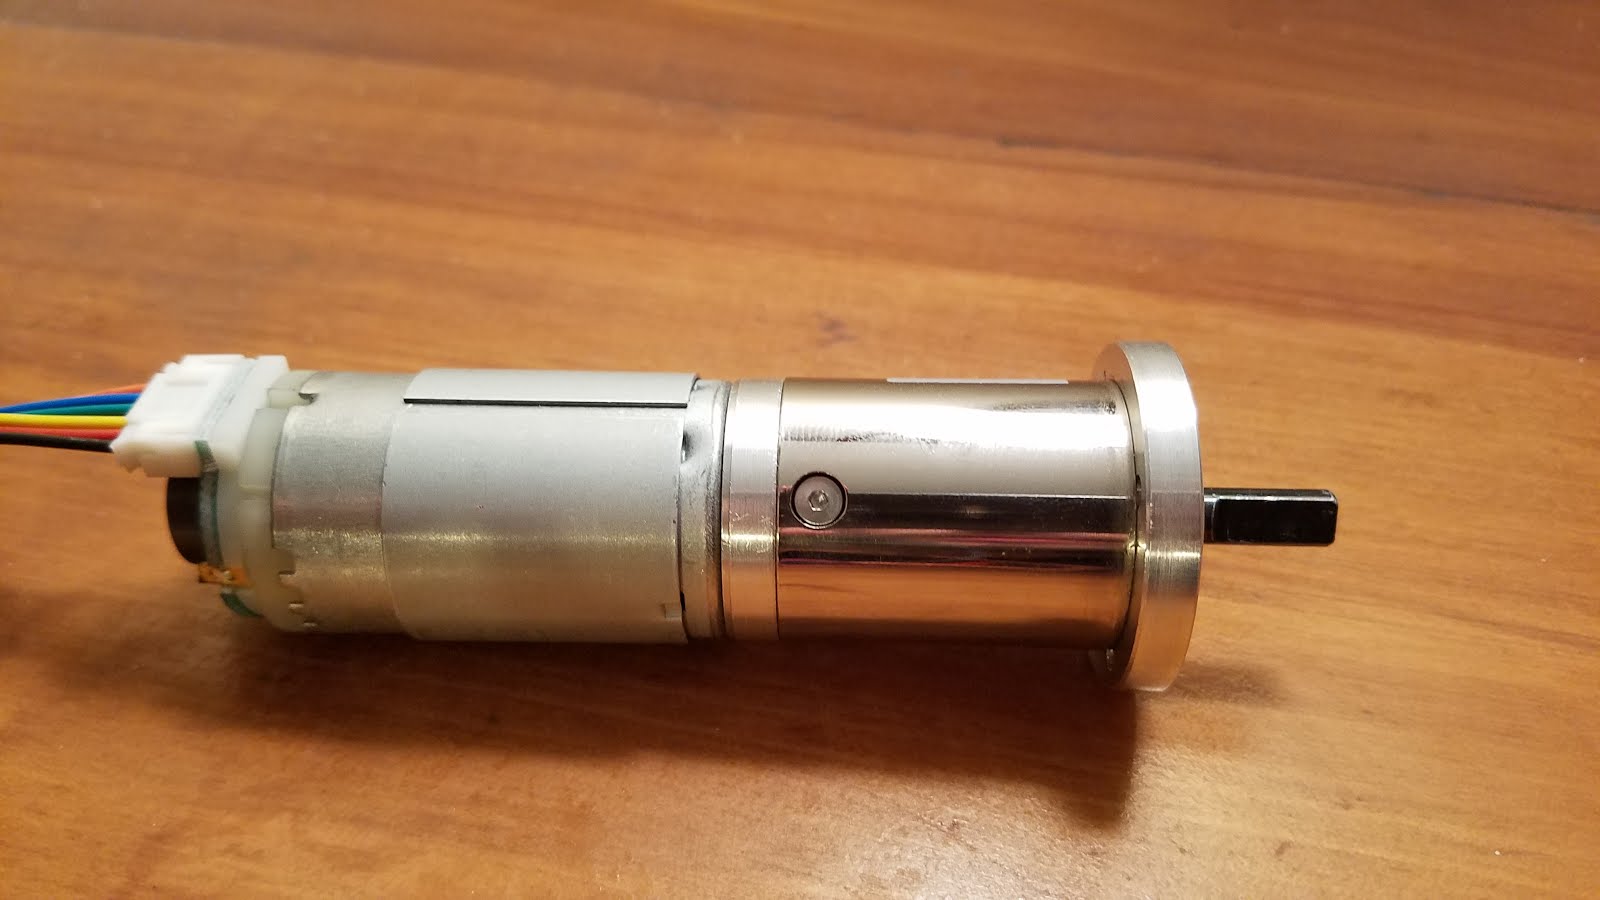
I built a simple housing unit or mount for the motor. This secures the motor in place with no room to wiggle while it's turning. This unit will be attached to the vibraphone frame. The motor shaft is braced in a plastic rod exactly like the fan rods are held by those plastic rods seen in the previous post. This reduces stress on the shaft and allows the motor run more efficiently because there's less resistance. Not shown in these photos below are 2 pipe clamps wrapped in bicycle inner tube pieces (shown further down). The inner tube pieces acted as filler to eliminate excess space between the top of the motor and the clamps. It's also gives it a very firm grip on the motor, making sure it won't move while running.


Attached to the shaft is the same wheel I used for the rods that spin the fans. I decided on using polyurethane tubing as the belt that pulls the rods. This tubing has the same exact radius as the outer groove on the wheels that will pull it so it should be pretty efficient.

I had to cut the tubing to the approximate length I estimated I would need and then fuse the ends together by melting them with a soldering iron and then firmly holding the ends together. I trimmed off the excess material at the fusing location with an exacto knife.


I made a pretty simple circuit to control the motor with the Arduino and a potentiometer (It's pretty rough and hideous looking right now). I won't go into how all that works in great detail. But essentially the Arduino uses PWM (Pulse Width Modulation) to vary the speed of the motor. The PWM signal is sent to a MOSFET transistor which then sends the motor a certain voltage for the desired speed. For just controlling the speed of the motor, I don't need an Arduino or any type of micro-controller to do that. But later on I'm going to be using the Arduino to program sequences for the motor to perform hands free. These sequences could be gradually increasing or decreasing speed over a certain amount of time or performing a defined set of speeds and operations based on exact time durations.

After setting up the Arduino, mounting the motor to the frame, and installing the belt the whole system was ready to be tested for the first time. I made a video to show the whole system and to test out using the audio editing program Audacity to help eliminate the sound of the motor after recording. The motor is simply too loud to record with without any type of editing to the audio. This whole fan and motor system so far has turned out way better than I originally anticipated. To my surprise the fans can spin continuously without scraping on the inside edges of the resonators. I was pretty fearful that would be a problem.
My next steps are to experiment with eliminating motor noise and also designing a whole electronics control box that will have an easy to use power switch, speed dial, 3 preset buttons, and even an LCD screen to display the RPM and the titles to any preset sequence I might be using at the time.